How to Draw Clothing with Markers: Folds, Wrinkles and Tonal Values
Hey marker slingers, welcome back.
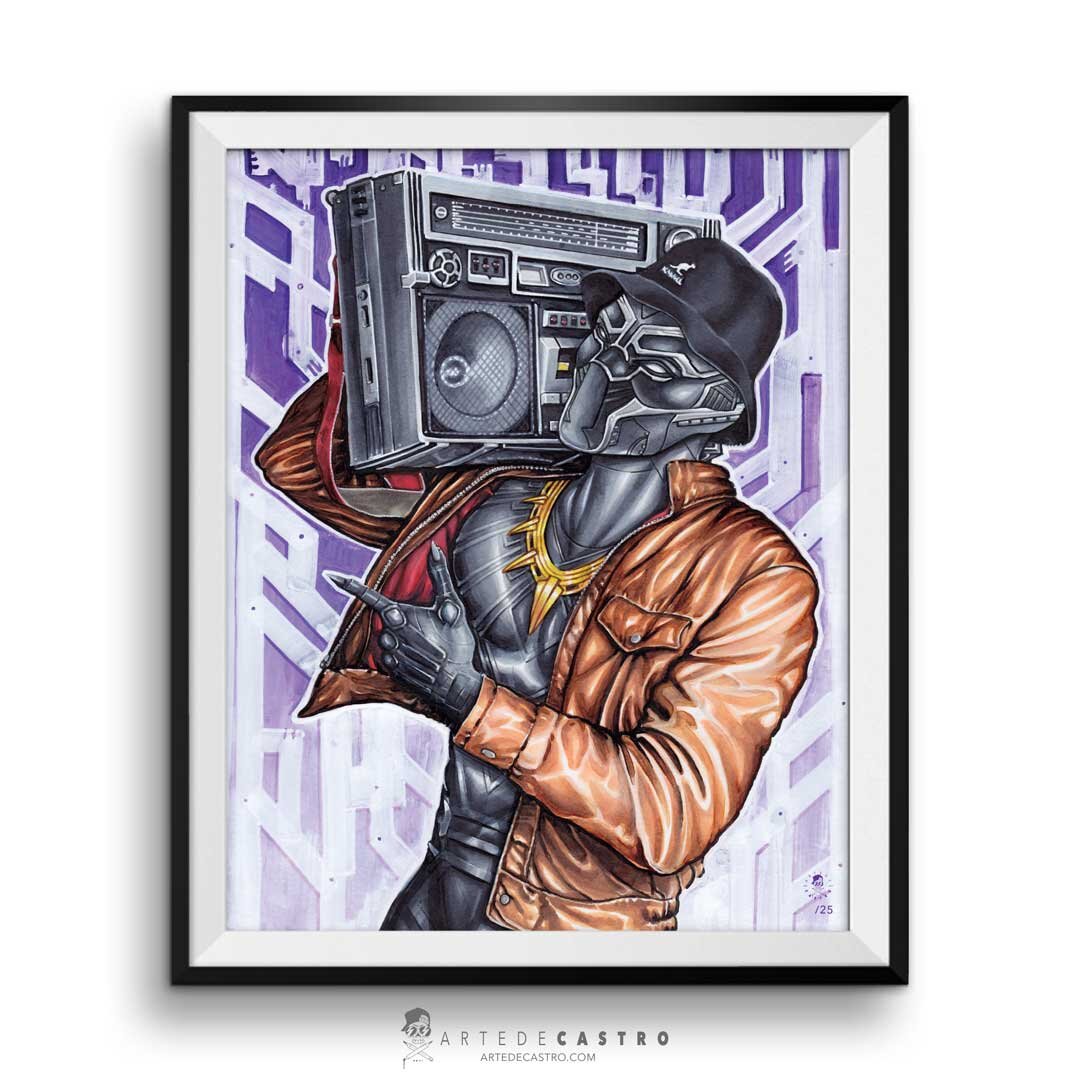
A few weeks ago I did a marker art demo at a nearby elementary school and some of the kids asked about drawing clothing, creases and folds. It came up naturally while working through a Black Panther piece, so here is how I broke it down for them. These are the same fundamentals I use in every figure drawing, whether I am working on a comic character, a portrait commission or anything with fabric.
“Getting to break down marker art fundamentals in my son’s 3rd grade class was one of the highlights of my year. Big thanks to his teacher for letting me crash the classroom and pass along some fun knowledge to the next generation of artists.”

How to draw clothing folds and wrinkles
When drawing clothing, start by looking for the areas of tension that create the wrinkles, folds and creases.
In some cases these show up as compression wrinkles, caused by the tension or force created by a moving body part. The jacket wrinkles and jacket folds on Black Panther near his armpit and elbow are a good example of this. The hips, knees and ankles are also common areas for compression wrinkles and creases.
Other times you will see hanging folds, which usually appear on fabric when it is clipped on both sides. Think Roman robes draped across the shoulders.
When thinking about how to draw capes, robes, curtains or long dresses, look for pipe folds. These happen when a loose piece of fabric hangs freely. When a cape or dress wraps around a figure, pay close attention to how tension or force like a gust of wind changes the direction and shape of those folds.
“I bet you didn’t know there were so many different types of wrinkles. Hang in there. There’s more! lol ”

How to identify light and shadow patterns in fabric
Now that you are aware of the different types of folds, start thinking about how light, value and patterns impact the fabric.
Each fold or wrinkle follows a very similar breakdown of light and shade. Identify the highlights, which are the strongest areas of light, the mid-tones, and the form shadows, which are the darkest areas in the fold or wrinkle.
If you look at fabric this way you will start to recognize a basic pattern. Each fold behaves like a small cylinder with a highlight, a middle tone and a form shadow. Think of it that way and the whole surface starts to make sense.
Using a strong light source makes this pattern more obvious. Soft lighting will subdue the shadows and flatten the highlights, so when you are learning, work from a strong direct light source first. Use this breakdown as your fabric fold reference — once you can identify the highlight, mid-tone and form shadow on each fold, you have everything you need to start shading clothing folds in your own work.

How to use tonal values and shading when drawing clothing
Having the right range of values is essential when creating dimensionality on a flat surface.
Sometimes bright colors can throw off your perception of values. A good practice is to look at your reference in grayscale so you can clearly see the tonal transitions without color getting in the way. This works especially well when you are trying to shade clothing folds or figure out where your form shadows fall on a wrinkled surface.
If you are working in Copic markers, pull back to a single color family in cool grays or warm grays first and map out your values before committing to color. It forces you to think in terms of light and dark rather than hue, which is where most beginners struggle when drawing clothing wrinkles.
“I hope you considered giving this gray scale trick a go. It really does help.”

How to simplify fabric patterns in marker art
The last tip is to avoid patterns, at least at first.
A detailed pattern combined with the curvature of folds can muddle what is really going on with the fabric. When you are learning how to draw clothing wrinkles and folds, the pattern becomes a distraction before you have the underlying structure locked in.
If you are a beginner, stick to solid fabrics until you feel confident with the fold and crease structure. Then venture into simple patterns. Just keep in mind that patterns curve with the roundness of the form, so parts of the pattern will appear and disappear as the fabric folds. The same rules of light, shadow and shading clothing folds still apply underneath the pattern.
Start simple, get the structure right, then layer the complexity on top.

Want to see the full piece?
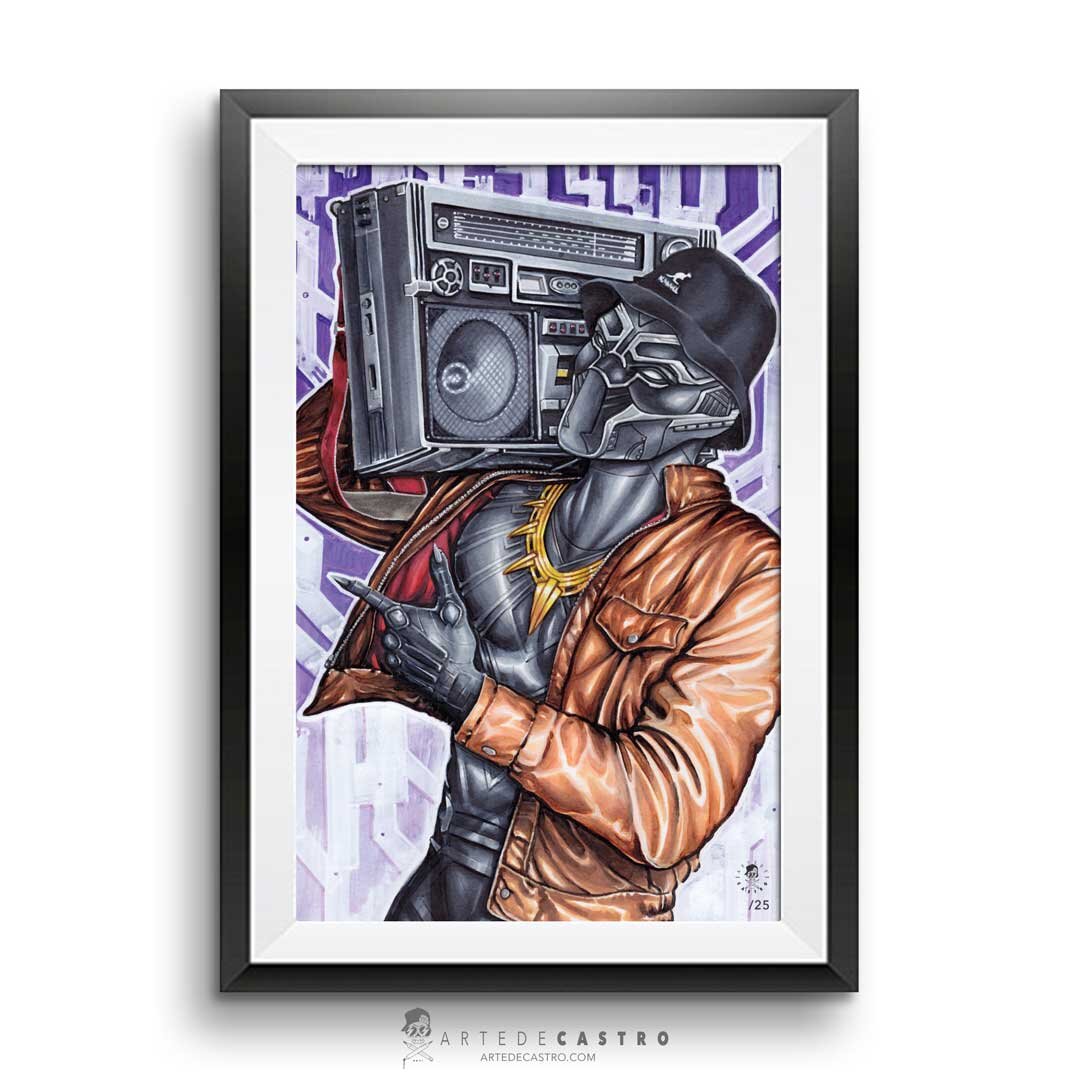
The LL Cool J vs Black Panther poster used throughout this tutorial is available in the shop. If this breakdown helped you think differently about drawing clothing and fabric folds, go check it out.

• 16x20 Poster
or
• 11x17 Poster
• Hand signed and numbered
(frame not included)
I really hope this helps. Please leave comments below with any additional questions and I’ll try to get back to you as quickly as I can.
Your friendly neighborhood marker slinger,
— Ivan